Saturday, September 15, 2012

Lemon Rosemary Pasta with Chicken

I could live solely off of pasta and bread, I think.  And for some reason it's been a little while since we've had good pasta.  And when you add lemon and rosemary (and chicken) to pasta... It's pretty dang good.
Flavorsssss Precious
This recipe is sort of based off of the lemon pasta from Smitten Kitchen that I made a couple of times (I didn't blog about it.  One of my five readers gave me the recipe, so it felt redundant).  Only the Smitten recipe Sam didn't like.  He thought it was way too lemony and I thought it was a little too complicated.

And so this idea was born.  And it's pretty simple.
Ta-da!
Lemon Rosemary Pasta
From My Brain 
-- serves 2 with a little leftover for lunch tomorrow

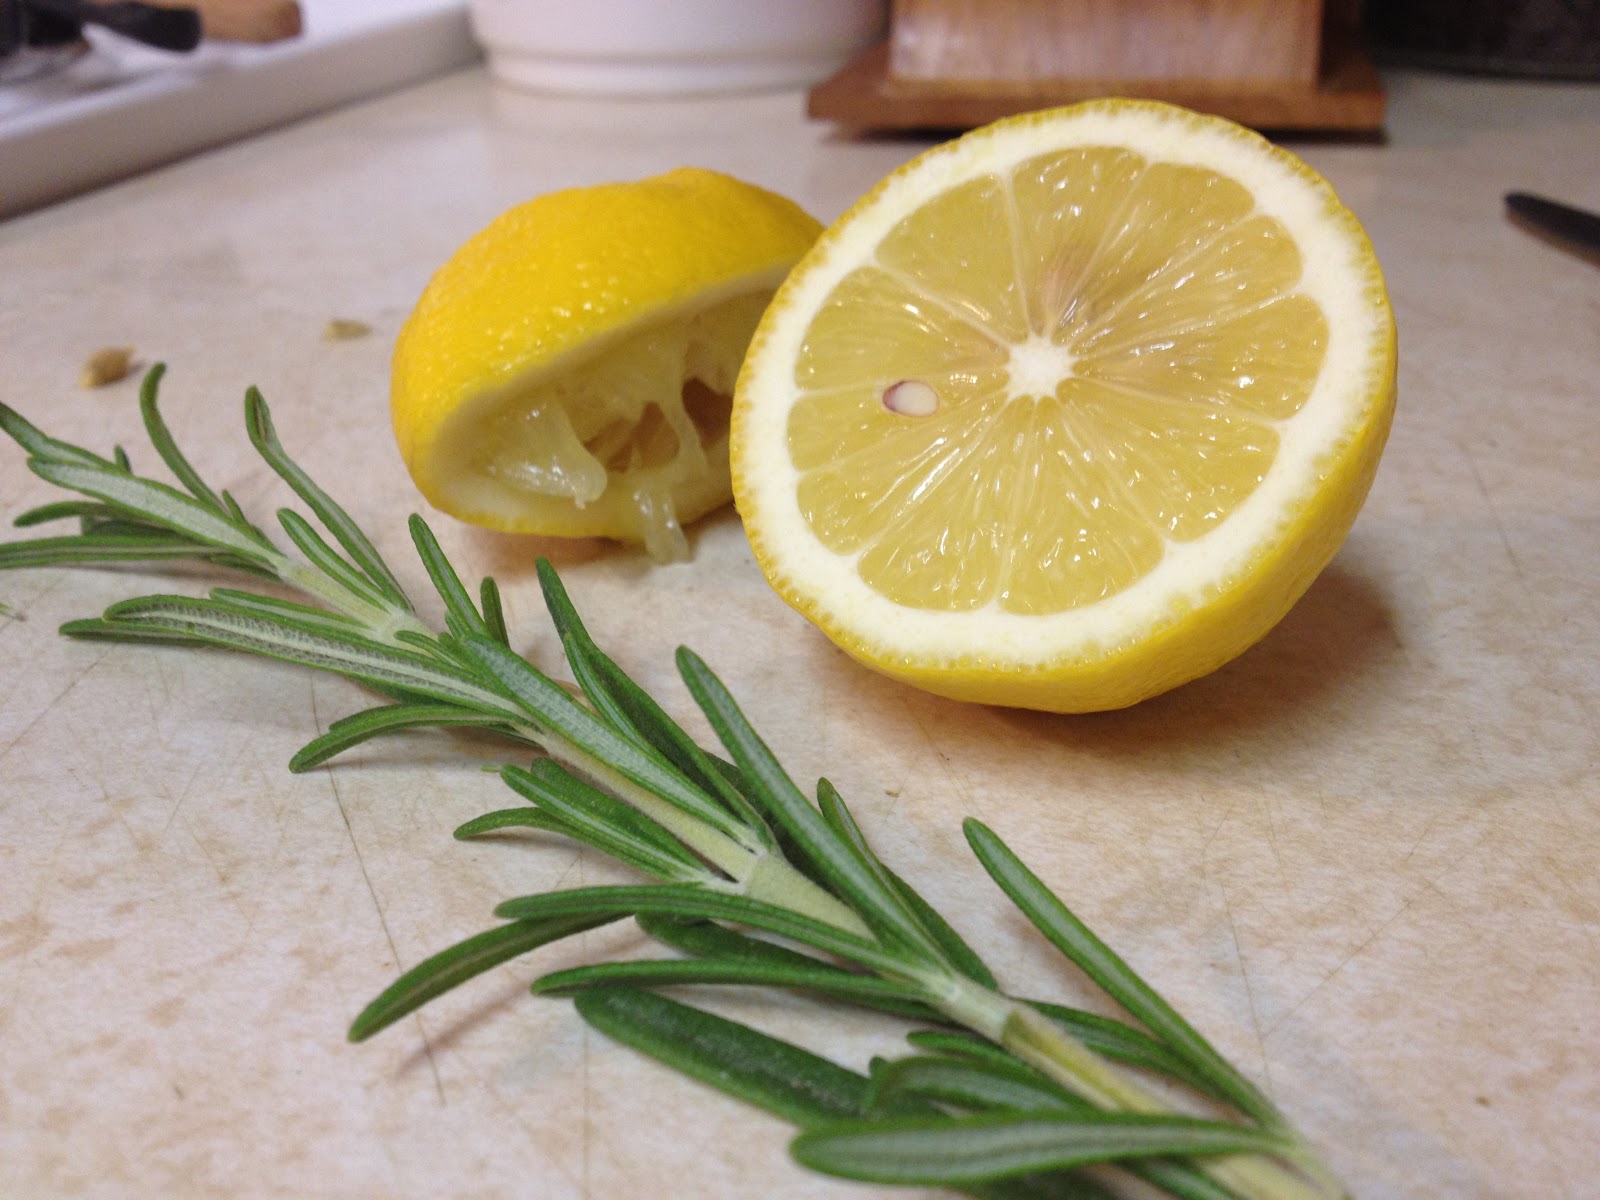
1 lemon, halved

1 good-sized sprig of fresh rosemary

~1/4 lb fresh grated parmesan cheese (it's not a lot)

1 handfull long pasta (spaghetti, linguine, etc)

1 or 2 chicken breasts

1) Put a dash of olive oil in a pan and bring the pan to medium heat.  Score your chicken breasts strip-size (but don't cut all the way through).  Put the breasts in the frying pan to brown and cook through.  Take one lemon half and squeeze contents over top and bottom, periodically over the time the chicken is cooking.  Pull some rosemary from the sprig and break leaves up, sprinkling over breasts (and in the serrations if you can).  Add a little fresh-ground salt if you want.  Continue to cook (on lower heat once browned so it doesn't burn) until chicken is cooked all the way through.

2) In the mean time, have a pot of water boiling.  Cook pasta according to package, adding a few drops of lemon juice to the water, if you want.  When al dente, drain.

3) Return pasta to pot.  Squeeze second half of lemon onto pasta.  Zest both rind halves well into the pasta.  Stir up.  Strip remaining leaves from rosemary sprig and break up into pot.  Congratulations, your hands now smell amazing.  Stir.  Toss in as much parmesan cheese as you want.  We used a little less than 1/4 lb fresh.

4. Cut chicken into strips.  Serve on top of or next to noodles.  I actually cut them into chunks and stirred them in, but I think I like it the other way better.  Anyway.

Bon Appetit!!!

Grumps don't get pasta for dinner.

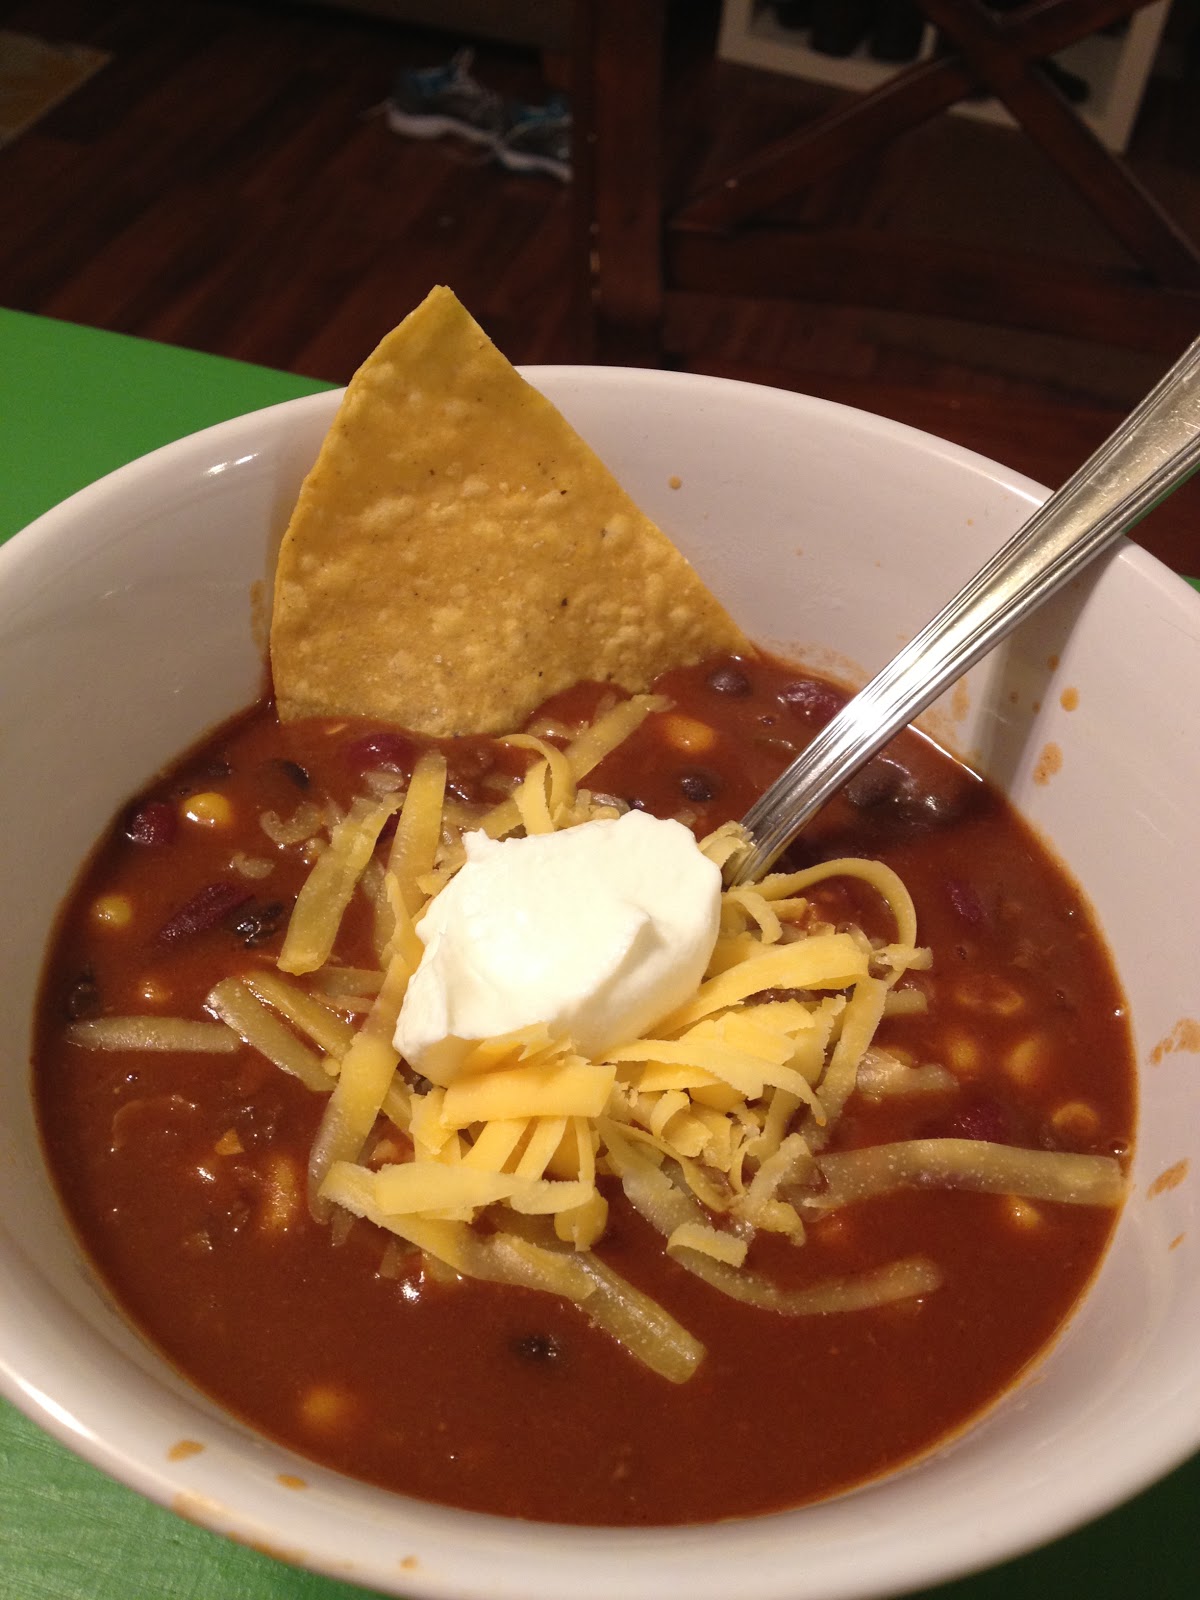
Taco Soup

When I had my surgery back in January, my visiting teacher (who probably assumed my surgery was on a limb or something) brought this soup to Sam and I while I was recovering.  Fortunately she'd made it pretty mild, so I didn't have much trouble eating it.

Now that my digestive system is back in order, I can make this soup whenever I want (I got the recipe from her since I liked it so much).  Tra la la.

Anyway, you can make this as mild or spicy as you want, just adjust the seasoning.  Bonus!  It makes a lot, so you can freeze it!  I made the last batch in April, and we just finished it this week.  Times of yum.

Stir in some grated cheese and/or sour cream if you want, and eat with tortilla chips handy (I went to Cafe Rio with Adrien and got chips and we finished them up with dinner.  Sweet nectar of life.
So juicy SWEEEEET!

Taco Soup de Yum

1 lb hamburger, browned, sauteed with onions and celery if desired (I skip this because I don't like a lot of meat and the chili we use has meat already)

1 can corn (or about the same in frozen)

1 can black beans

1 can kidney beans (I think we omit this and don't replace it with more black...but maybe we do)

1 can chili (or chili beans)

1 can stewed tomatoes

1 8oz can tomato sauce

1 package taco seasoning

First, throw all the cans of everything into a pot and turn on heat to medium-high.  Add taco seasoning (to your taste...and I'm sure the soup might taste fine with it if you want to leave it out altogether), stir in, and heat through.

Done!

Thursday, September 6, 2012

Stuffed Bell Peppers

A few months ago, Adrien sent me a recipe for stuffed peppers that didn't look disgusting.  I made it.  It wasn't disgusting.  In fact, it was pretty good, considering I don't like that kind of thing!

Last night Sam asked me to make them again.  Actually it was a few days ago, and that's why I just happened to have two plump green bell peppers on hand.  But I could not find the recipe for the life of me!  So I made it up based on what I could recall and what I like.

This is incredibly easy (maybe 20 minutes from start to finish) and very filling and delicious.

What you need:
Things.
1 can chicken

1 can black beans

1-ish cup (or one can) frozen corn

1 T or so of onion flakes, reconstituted (because sometimes I am too lazy to cut an actual onion)

taco seasoning (or if you're like us and don't have any, this "Latin" meat rub)

cheese (this time we used cheddar, last time we used a cheddar/mozzarella blend)

2 plump bell peppers (not pictured, but you know what they look like)

How to proceed:

1. Set the oven to preheat to broil (or 350 if that takes too long).

2. Carefully cut out the top of the pepper/stem without taking too much (if any) of the flesh.  Then cut the peppers in half from top to bottom.  Cut out the seeds and ribs.  Line a small baking sheet or pan with tin foil.  Put the pepper halves on the foil OPEN SIDE DOWN.

3.  Put the corn (pre-steamed if it was frozen), beans, onion, and chicken in a pot or frying pan.  PUT THE PEPPERS IN THE OVEN.  Heat filling on medium-high for a bit.  Add taco seasoning to taste.  Add a little grated cheese if you want.

4.  Check your peppers after 2-3ish minutes.  The skin should just be starting to bubble and brown.  Take them out.

5. Flip over pepper halves when slightly cooler and fill with filling.  Top with enough cheese to make you happy.  Put back in oven until cheese is melted and barely starting to brown.

Done!  We topped the peppers with a couple drops of lime from the fresh limes we had on hand (Bountiful Baskets are fun!).  Use discretion though, too much lime and (as Sam said) it tastes like a British sailor.

We had a little extra filling that Sam took for his lunch today to mix with lettuce and possibly put in a tortilla.  I think it sounds good both ways.

Oh, and you can make these vegetarian by omitting the chicken.  Or meatier by using ground beef.

By the way, the frozen corn we have is parboiled fresh corn cut from the cob that we got in our basket back in January.  Delish.

Wednesday, August 8, 2012

Chelsea Market

In the heart of New York City (well, you know) is a fun place called the Chelsea Market.  It is advertised as a sort of "foodie's paradise," but I found that despite it's charm and delicious fare, it's become overly commercialized.  But I seriously still recommend it.

 We were boiling hot and starving, so the air-conditioned market place was a treat in itself.  We decided to lunch on caprese sandwiches.  They looked better than they tasted, unfortunately.

 One of my favorite places was the Ronnybrook Farm Milk Bar.  It was like an ice cream parlor, but they had milkshakes, milk, ice cream, chocolate milk, etc.  It was so nice after walking in the hot city summer to sit down and have a chocolate milkshake.  We asked the barkeep for the chocolatiest milkshake he could make, so he gave us chocolate ice cream blended with chocolate milk.  It was so creamy and yummy and I loved every drop.
Perfect on a hot day
Milk crate wall
After eating, we walked around and perused the other shops.  There was a butcher, a seafood place, a few bakeries, a couple of cooking specialty/supply stores, and a handful of other places.  I wish that I'd been able to find a good flavored crusty bread, but the bakeries only had regular breads, sadly.  I also wish that there'd been more selection.  The actual Chelsea Market is kind of a small area from one end to the other.  Like I said, it's been pretty commercialized.  Every place is an actual store, and I wish there had been more "markety" stands, but overall, the Chelsea Market is a pretty fun place to go, and if you're willing to spend the money, you can get some pretty tasty food.

Tapas!

In downtown Sono (that's South Norwalk for you normal folk) you will find a delicious and fun restaurant.  It's a tapas place known as Barcelona.

I've always been rather intrigued by the concept of tapas, especially after reading about it in Frances Mayes' "A Year in the World."  So I was very excited when my parents came to visit and we all went out to Barcelona for tapas.  And it was amazing, truly.  The music was pounding, the food kept on coming, and the service was great.  I have never gotten so full off of what was essentially like snack food.

Even if you never go to Barcelona (the store), you need to find a tapas place to try.  Better yet, go to Europe and take a whirl in the tapas culture!
I didn't take this.  Nope.

Tuesday, February 28, 2012

Chocolate Chip Pudding Cookies

I got this recipe ages ago but rarely made them. I finally did so a couple of weeks ago for a friend's party, and they were a huge hit. I was reminded of how delicious they are, so I made Sam make them again tonight while I worked on my senior thesis (blech). So here you go! Partake, anon! (PS these pictures aren't very good. There's a lack of natural light in this neighborhood lately)
The secret ingredient!
I also got to utilize our cute new cookie tin (air-tight too!). I love it.

Chocolate Chip Pudding Cookies
from an ex-boyfriend fellow

2 ¼ c flour
1 t baking soda
1 c butter (softened)
¼ c white sugar
¾ c brown sugar
1 (4 oz) package instant vanilla or chocolate pudding mix
1 t vanilla extract
2 eggs
1 (12 oz) package semi-sweet chocolate chips

In a medium bowl, mix flour and baking soda; set aside. In a large bowl, combine butter, sugars, pudding mix, and vanilla; beat until smooth and creamy. Beat in eggs. Gradually add flour mixture; stir in chips. Batter will be stiff. Drop by rounded teaspoons 2 inches apart onto an ungreased baking sheet. Bake at 375 degrees for 8-10 minutes.

Yummy dough: tastes better than it looks, I promise.
Fresh from the oven!
Resting place.

Sunday, February 26, 2012

Lo and Behold!

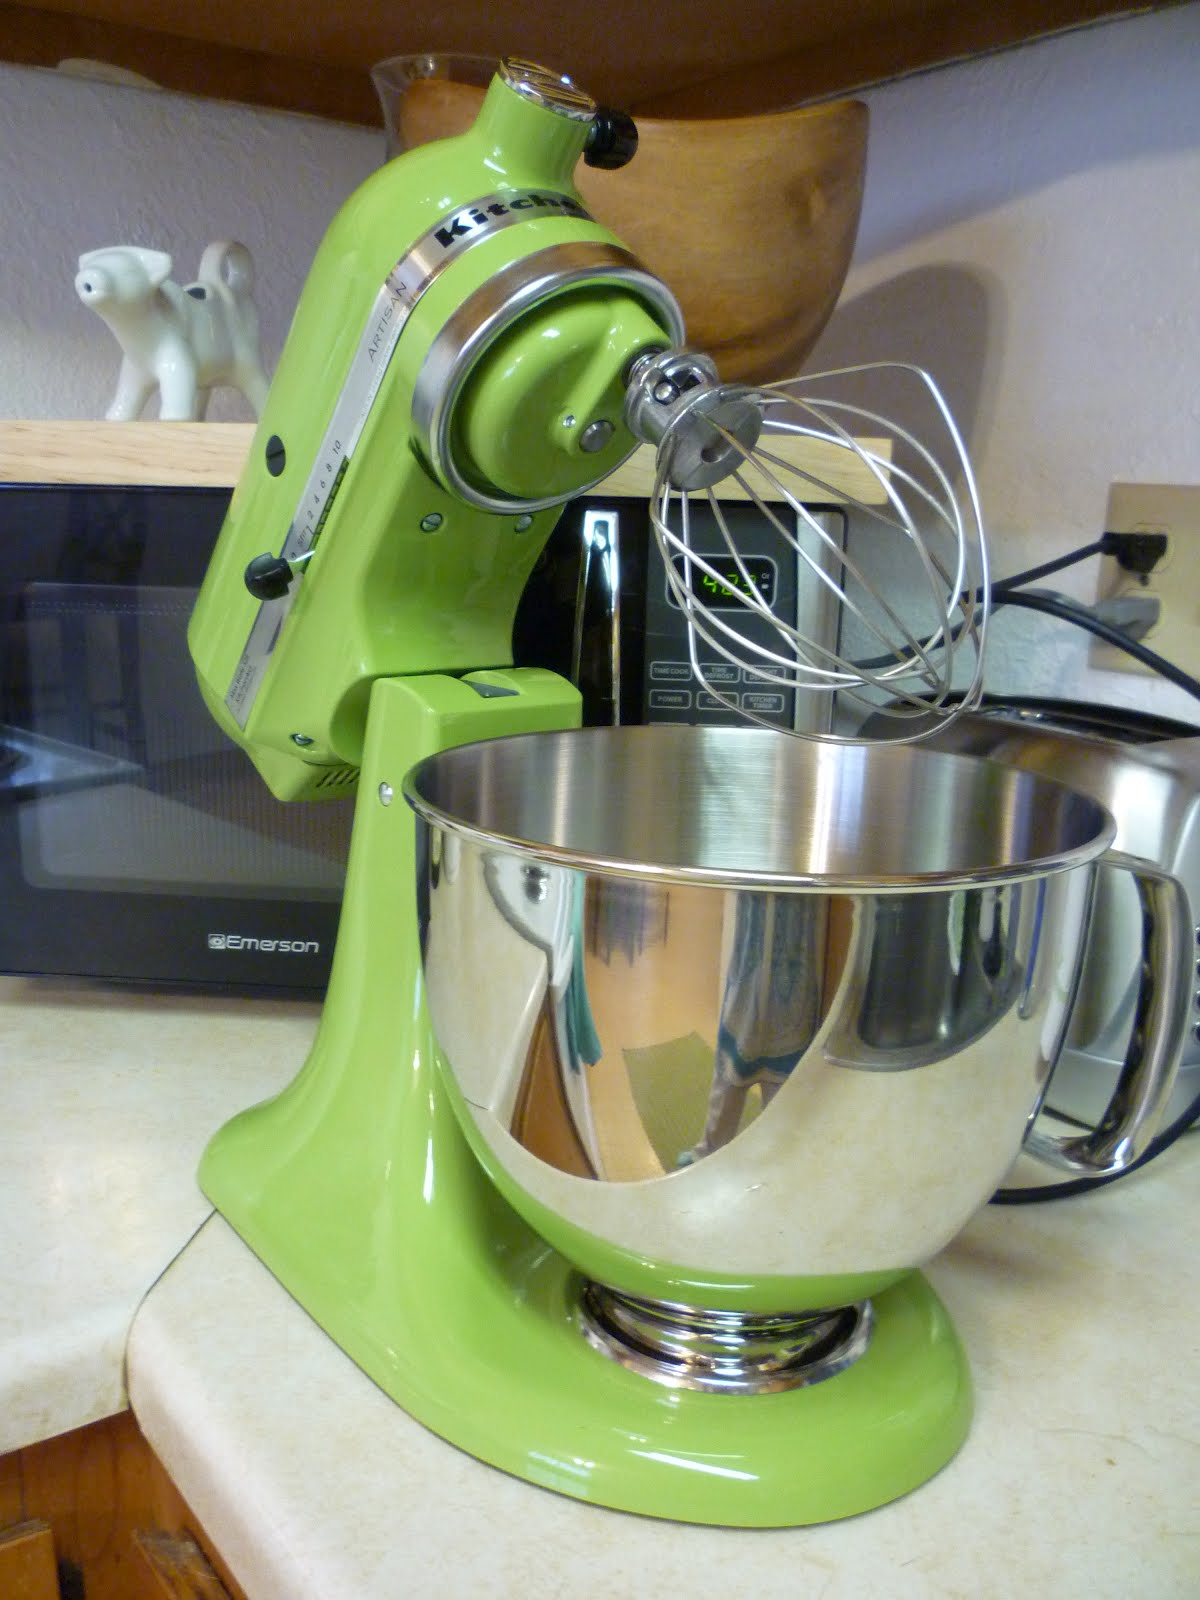
As my parents' wedding gift to us, we were able to go out and purchase a Kitchenaid! YES!!!
I am so incredibly excited. It's a beautiful candy apple green (I wanted a lighter green, but Sam, who is allergic to mint, said it looked too much like the offending herb and refused to let me get it, but that's ok) and it is going to make my baking life fifty times easier. I just wish it wasn't so dang heavy.
Anybody want me to make them a cake?
The inaugural recipe was cheesecake marble brownies-- something simple, but chocolatey and delicious and different. I'm making bread next though-- food I've put off making very often because it's very difficult to get good results with out any kind of electric mixer.

I also got to use my brand new double boiler. My cooking life has gotten significantly less ghetto since I got married and got all these presents, let me tell you.
Another thing-- I was cracking eggs into the batter, but the egg was recalcitrant, so I said "come on egg, hatch that velociraptor!" Which is a veiled reference to Jurassic Park, of course. And then the next egg cracked (without help) like this:

GASP! LIFE HAS FOUND A WAY.