Wednesday, September 19, 2012

Lemon Vinaigrette Dressing

Yesterday evening Sam and I went over to have dinner with our good friends Mel and Eric.  Mel made some delicious baked macaroni and cheese and provided bread and drinks, while I brought the ice cream and a salad.  Well, we brought them, but I made them.  So there.

Anyway, I didn't want to bring a boring salad, so I decided to try making an interesting dressing.  After some cud-chewing (with myself) I decided on a lemon vinaigrette.  All of the recipes I found included ingredients I didn't have, so I winged it (wung it? who knows).  And the dressing was actually really good.  Here it be:

Lemon Vinaigrette Salad Dressing

1/3 c olive oil

ALL the juice in one lemon

a few grinds or shakes of pepper

same of salt

1/3-1/2 purple onion, diced small

1/2 t dry thyme or one sprig fresh, leaves broken up to release flavor

1 tsp honey

1. Chop the onion.  Combine all the stuff.  Stir it up.

2. Refrigerate for 1-2 hours so the flavors will leach into each other.

3. Pour onto/toss into salad.

Cronshe me.
 A note on the salad: I bought a spinach/romaine/spring greens mix bag because it had all I wanted with no excess.  Then I chopped up a fresh tomato from Sam's grandparents' garden and tossed that in, along with a bit of crumbled feta cheese.  Then the dressing went on.  Oh, and the onion was also fresh from the garden.  I sure do love fresh produce!
Look at the ripeness and red juiciness!  Also, that's my favorite knife.  It's like a mini-santoku. 

Tuesday, September 18, 2012

Peach Ice Cream

So what do you do with a zillion fresh peaches sitting in your freezer?  Why, you break in your ice cream maker with fresh peach ice cream!

The recipe is simple.  It's adapted from one I found in the booklet that came with our ice cream maker (we have this model).  It makes about 1.5 quarts.  And it is so very delicious!  
Peach bits and vanilla...yum!
Fresh Peach Ice Cream
Adapted from "Cuisinart Recipe Booklet"

All you need


1 1/2 - 2 c fresh peaches

3/4 c whole milk

2/3 c granulated sugar

pinch salt

1 1/2 c heavy cream

1 1/2 tsp vanilla (I think I may actually have put in 2 or even 2 1/2)
1. Put peaches into food processor and chop, mostly thin and small, but with some bigger chunks.  This works a lot better when the peaches are frozen.  Otherwise they kind of just turn into a mush.

2. Combine milk, sugar, and salt in bowl.  Whisk until sugar dissolves.  Stir in cream and vanilla.  Stir in peaches, juice and all.  Cover and refrigerate 1-2 hours.

3. Freeze according to your mixer.  With ours, all you do is pour it in and turn it on for 15-20 minutes (although it was done in 12).

Mixing mixing mixing...
4. It will be soft.  Serve immediately or put in airtight container and put in freezer for 2+ hours (or overnight and all day).  It will be rock hard, so pull it out a few minutes before you want to eat it.

Ready for freezing

Sunday, September 16, 2012

Red Beans and Rice

Here's a fun fact: It's possible to learn new things about people you know really well, even after you've known them a while.  I recently found out that Sam has Cajun blood in him (who knows what secrets I'll discover after 50 years of marriage).  The following information may be slightly wrong, and is based off of quick research based off of Sam's hazy memory of the subject.

So.  Sam's mom's dad lives in Louisiana.  His family has for a while.  When I asked why, I learned that Sam's German ancestors (there are a lot of those...on both sides) went to New Orleans and mixed with some French Cajun peeps.  La di da.  This is no doubt of great interest to you all.  What does it mean for you?  It means access to family recipes for Cajun food...
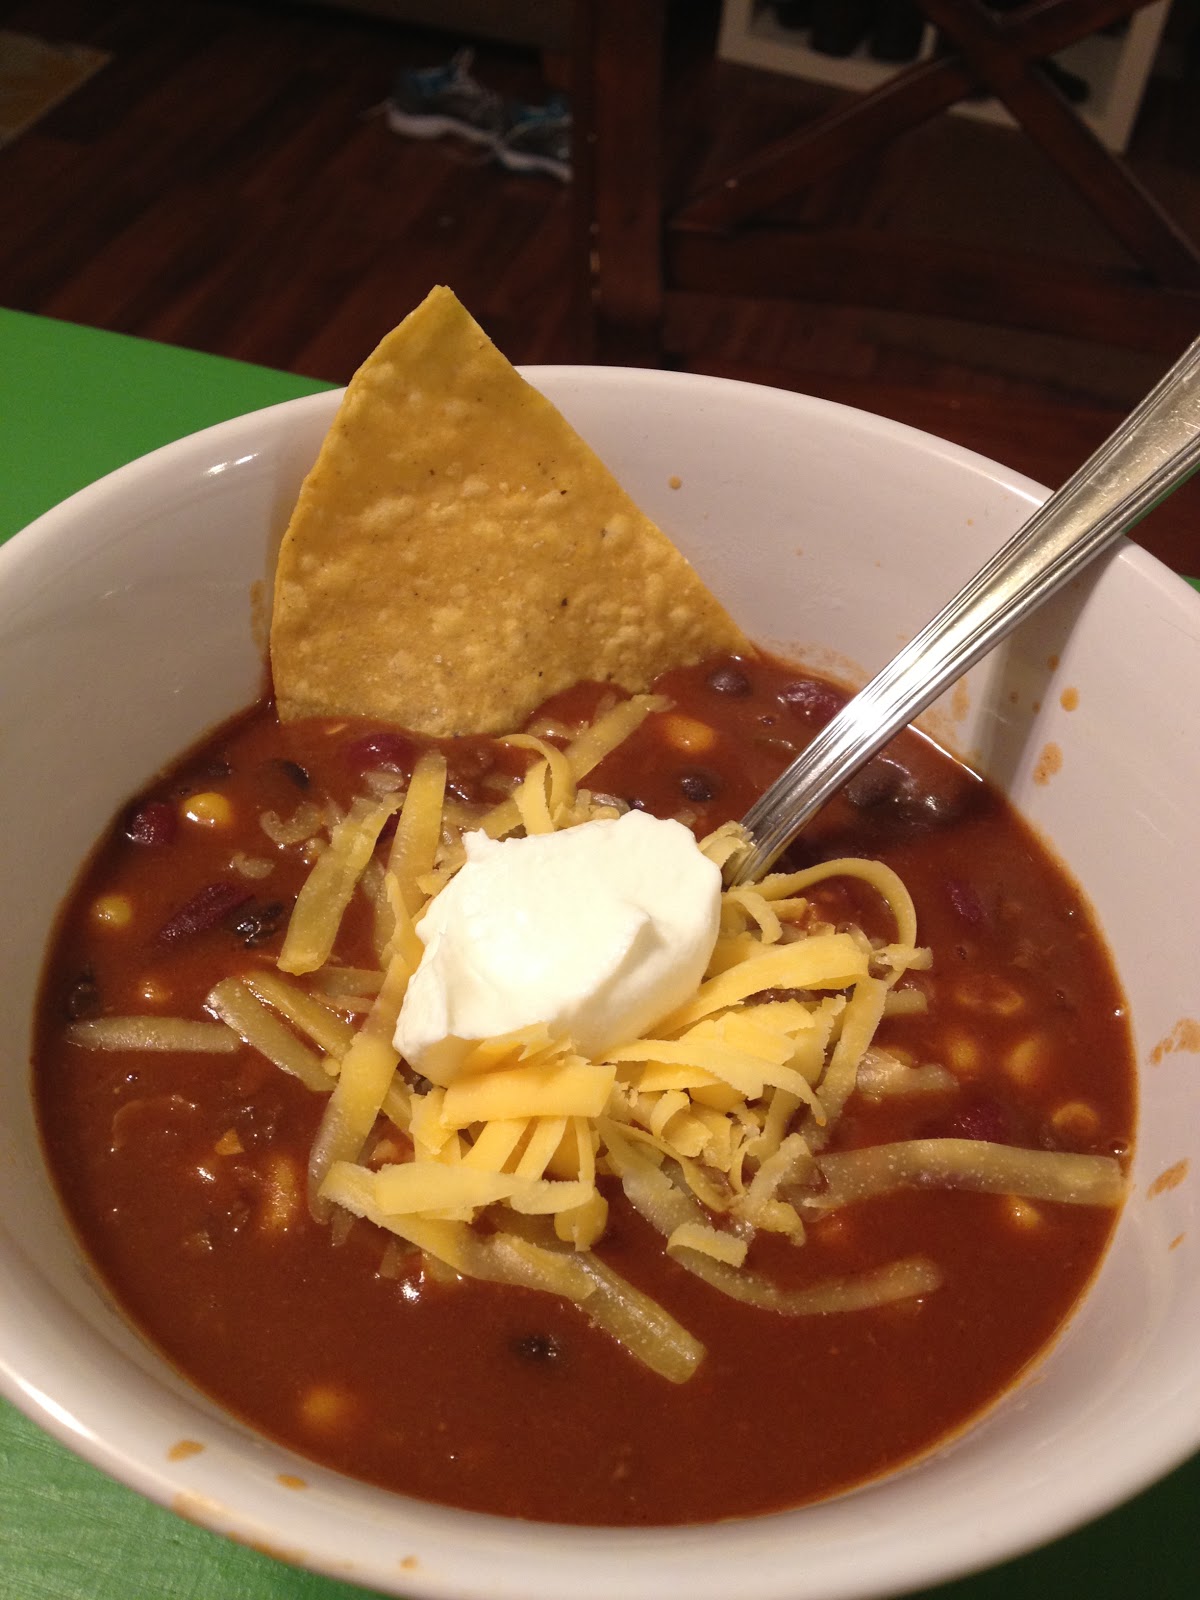
Tastiness in a bowl
Red Beans and Rice
Ye Olde Familie Recipe
[side note: the original recipe serves ~2 people.  We made 4x that for some reason, but it's delicious so I don't mind the leftovers]

1 lb dried red beans

1 stalk celery (we didn't want to buy a whole huge bunch, so we got little celery snack packs, which, incidentally, were cheaper, and Sam had little packages of them for lunch)

3 bay leaves (~1 per cup of beans)

1-2 cloves garlic

1 medium onion, "naturally chopped"

12 oz Cured salt pork (this is the closest thing available around here to the pickled pork originally called for)

Rice (for serving over/with...Sam added a little Zataran's blackened seasoning while steaming for kick but it was very subtle)

1. Prep and soak the beans over night.  Rinse and cull again.

2. Set beans to boil in just enough water to cover them.

3. After about an hour, sautee celery, pork, onion, and garlic.  Dump entire frying pan into pot, juices and all.

4. Let it all boil for another hour and a half.  Stir often to keep beans from sticking to bottom and sides.  As water level gets low, add more periodically (just enough to keep them covered).  Add some salt and pepper if you like that (if you prefer it sweeter, instead of salt, and 2T sugar as it says in the recipe below).

5. About 30 mins before the boiling time ends, add a glob of butter.  Sam added a half a stick, but as his grandma says "You can nevah have too much buttah!"

6. Serve hot over prepared rice.  You're supposed to serve it also with a crusty french bread to soak up the juice, but they don't believe in good bread in Utah and I didn't have time to make any, so we just used what we had.

Other things: you can adjust the recipe for how much you're making, because obviously we did.  Also, Sam says don't ever cook it longer than 2 hours "unless you're making a really, really, really big batch."
Another thing, don't cut off any gristle or fat before you cook it because it adds to the flavor.  But you can cut it off and boil it in, picking it out later.  You're going to pick it off at some point anyway, unless you like eating fat.

And, just for funsies, the original family recipe (complete with awesome southern talk and random tidbits):
"The smell will start to make you hungry, so have a glass of white wine along about now." 

Saturday, September 15, 2012

How to Dry Fresh Herbs

Yesterday Sam and I went to pick up a piece of mail from his grandparents' house.  They have a garden.  It's near the end of the season.  They were going out of town.  We got full and complete access to their produce!  YES!

Good thing, too, because Sam completely forgot to hit "okay" when purchasing our Bountiful Basket earlier this week, and we missed the deadline.

So what did we get?  We got a huge box of peaches (which were nearly all ripe, overripe, bruised, etc, and so got cut up and put into portions in the freezer for smoothies and maybe fresh peach ice cream), we are "the proud owners of three great purple onions," we got a few zucchinis at various stages of nibbling and growth, a few little green bell peppers, a few enormous beefsteak tomatoes, and a couple of Anaheim chilis.  Oh, and a bunch of fresh herbs!

I believe we acquired: basil, rosemary (used here), thyme, oregano, sage, savory, marjoram, and a couple of stray chives.  Like I said, we used a bit of the rosemary last night, and this morning I took it upon myself to attempt herb-drying.

There are a few different methods, especially depending on the herb.  Knowing my luck, I'm not expecting all of these to turn out.  But in the meantime the kitchen smells amazing.

The only thing you really need to know is whether your herbs are low or high moisture content.  I think a good way to tell is: do they start to wilt when they have been picked for a few hours?  Basil I know is a high-moisture content herb.  Things like rosemary, savory, thyme, etc, are low-moisture content.  A simple google search will tell you whether you can air dry the herbs or you need to dehumidify them.

Simplified tips on how to dry your own herbs (cause I know you have lots of them):

Unwrapped and wrapped piles, plus scissors and string that we had on hand.

All herbs for air-drying (low-moisture content) have been tied at the stems with their few base leaves removed.  The base leaves will be mostly flavorless when they are dry because they are oldest.

In the mean time, the basil, which must be dehydrated or it will get moldy (it has a high moisture content like mint and some other herbs), sits in the oven on the lowest heat setting for 20 mins.  It will sit in their for 1-2 days, and once or twice a day I will turn on the low heat again for 10-15 minutes. This is because I don't have a dehumidifier/dehydrater.  I'm sure it's easier with one of those.

The low-moisture-content herbs are hanging in a cool, dry place.  It was recommended that I put them in a slotted paper bag to keep dust and spiders off, but I didn't feel like it.  Plus we have no paper bags.  I feel like I live on a French farm or something awesome.  The huge bunch at the bottom left is Savory.  I've never used Savory before, but it smells delicious and soft.

Lemon Rosemary Pasta with Chicken

I could live solely off of pasta and bread, I think.  And for some reason it's been a little while since we've had good pasta.  And when you add lemon and rosemary (and chicken) to pasta... It's pretty dang good.
Flavorsssss Precious
This recipe is sort of based off of the lemon pasta from Smitten Kitchen that I made a couple of times (I didn't blog about it.  One of my five readers gave me the recipe, so it felt redundant).  Only the Smitten recipe Sam didn't like.  He thought it was way too lemony and I thought it was a little too complicated.

And so this idea was born.  And it's pretty simple.
Ta-da!
Lemon Rosemary Pasta
From My Brain 
-- serves 2 with a little leftover for lunch tomorrow

1 lemon, halved

1 good-sized sprig of fresh rosemary

~1/4 lb fresh grated parmesan cheese (it's not a lot)

1 handfull long pasta (spaghetti, linguine, etc)

1 or 2 chicken breasts

1) Put a dash of olive oil in a pan and bring the pan to medium heat.  Score your chicken breasts strip-size (but don't cut all the way through).  Put the breasts in the frying pan to brown and cook through.  Take one lemon half and squeeze contents over top and bottom, periodically over the time the chicken is cooking.  Pull some rosemary from the sprig and break leaves up, sprinkling over breasts (and in the serrations if you can).  Add a little fresh-ground salt if you want.  Continue to cook (on lower heat once browned so it doesn't burn) until chicken is cooked all the way through.

2) In the mean time, have a pot of water boiling.  Cook pasta according to package, adding a few drops of lemon juice to the water, if you want.  When al dente, drain.

3) Return pasta to pot.  Squeeze second half of lemon onto pasta.  Zest both rind halves well into the pasta.  Stir up.  Strip remaining leaves from rosemary sprig and break up into pot.  Congratulations, your hands now smell amazing.  Stir.  Toss in as much parmesan cheese as you want.  We used a little less than 1/4 lb fresh.

4. Cut chicken into strips.  Serve on top of or next to noodles.  I actually cut them into chunks and stirred them in, but I think I like it the other way better.  Anyway.

Bon Appetit!!!

Grumps don't get pasta for dinner.

Taco Soup

When I had my surgery back in January, my visiting teacher (who probably assumed my surgery was on a limb or something) brought this soup to Sam and I while I was recovering.  Fortunately she'd made it pretty mild, so I didn't have much trouble eating it.

Now that my digestive system is back in order, I can make this soup whenever I want (I got the recipe from her since I liked it so much).  Tra la la.

Anyway, you can make this as mild or spicy as you want, just adjust the seasoning.  Bonus!  It makes a lot, so you can freeze it!  I made the last batch in April, and we just finished it this week.  Times of yum.

Stir in some grated cheese and/or sour cream if you want, and eat with tortilla chips handy (I went to Cafe Rio with Adrien and got chips and we finished them up with dinner.  Sweet nectar of life.
So juicy SWEEEEET!

Taco Soup de Yum

1 lb hamburger, browned, sauteed with onions and celery if desired (I skip this because I don't like a lot of meat and the chili we use has meat already)

1 can corn (or about the same in frozen)

1 can black beans

1 can kidney beans (I think we omit this and don't replace it with more black...but maybe we do)

1 can chili (or chili beans)

1 can stewed tomatoes

1 8oz can tomato sauce

1 package taco seasoning

First, throw all the cans of everything into a pot and turn on heat to medium-high.  Add taco seasoning (to your taste...and I'm sure the soup might taste fine with it if you want to leave it out altogether), stir in, and heat through.

Done!

Thursday, September 6, 2012

Stuffed Bell Peppers

A few months ago, Adrien sent me a recipe for stuffed peppers that didn't look disgusting.  I made it.  It wasn't disgusting.  In fact, it was pretty good, considering I don't like that kind of thing!

Last night Sam asked me to make them again.  Actually it was a few days ago, and that's why I just happened to have two plump green bell peppers on hand.  But I could not find the recipe for the life of me!  So I made it up based on what I could recall and what I like.

This is incredibly easy (maybe 20 minutes from start to finish) and very filling and delicious.

What you need:
Things.
1 can chicken

1 can black beans

1-ish cup (or one can) frozen corn

1 T or so of onion flakes, reconstituted (because sometimes I am too lazy to cut an actual onion)

taco seasoning (or if you're like us and don't have any, this "Latin" meat rub)

cheese (this time we used cheddar, last time we used a cheddar/mozzarella blend)

2 plump bell peppers (not pictured, but you know what they look like)

How to proceed:

1. Set the oven to preheat to broil (or 350 if that takes too long).

2. Carefully cut out the top of the pepper/stem without taking too much (if any) of the flesh.  Then cut the peppers in half from top to bottom.  Cut out the seeds and ribs.  Line a small baking sheet or pan with tin foil.  Put the pepper halves on the foil OPEN SIDE DOWN.

3.  Put the corn (pre-steamed if it was frozen), beans, onion, and chicken in a pot or frying pan.  PUT THE PEPPERS IN THE OVEN.  Heat filling on medium-high for a bit.  Add taco seasoning to taste.  Add a little grated cheese if you want.

4.  Check your peppers after 2-3ish minutes.  The skin should just be starting to bubble and brown.  Take them out.

5. Flip over pepper halves when slightly cooler and fill with filling.  Top with enough cheese to make you happy.  Put back in oven until cheese is melted and barely starting to brown.

Done!  We topped the peppers with a couple drops of lime from the fresh limes we had on hand (Bountiful Baskets are fun!).  Use discretion though, too much lime and (as Sam said) it tastes like a British sailor.

We had a little extra filling that Sam took for his lunch today to mix with lettuce and possibly put in a tortilla.  I think it sounds good both ways.

Oh, and you can make these vegetarian by omitting the chicken.  Or meatier by using ground beef.

By the way, the frozen corn we have is parboiled fresh corn cut from the cob that we got in our basket back in January.  Delish.